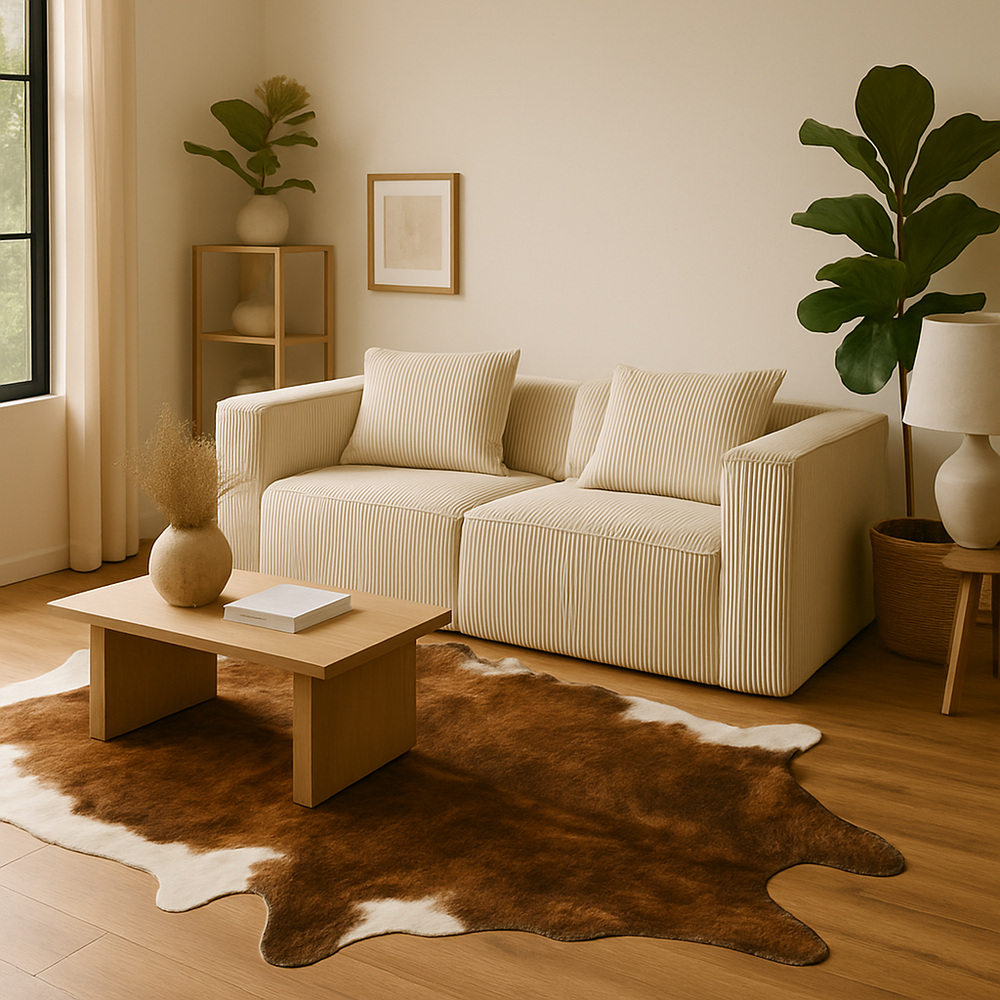
Wall Art For Living Room - Perfect Backdrop for Relaxation and Gatherings
Introduction:
Your living room is truly the centerpiece of your home. It’s where you unwind after a tiring day, host friends & family, and make cherished memories. Enhancing this space can be as simple as adding wall art that reflects your personality and style. Wall art can transform your living room into both a tranquil haven and a welcoming area for gatherings. Here’s a step-by-step guide to help you choose and organize the perfect wall art for your living space.
Step 1: Identify Your Style
Before diving into shopping, take some time to pinpoint your style. Do you gravitate towards a modern, minimalist aesthetic, or do you prefer something more traditional? Perhaps you love the bohemian flair or the rustic appeal of farmhouse decor. Understanding your style will help streamline choices & ensure that your wall art complements your interior design.
Modern: Seek out abstract pieces, clean lines, and bold colors.
Traditional: Opt for landscapes, portraits, or classic paintings.
Bohemian: Go for eclectic pieces, tapestries, and vibrant patterns.
Farmhouse: Look for vintage signs, botanical prints, and rustic frames.
Step 2: Think About Color Scheme
The color of your wall art can set the overall mood of your living room. Reflect on the existing color palette of the room. Do you want the wall art to blend in seamlessly or stand out?
Harmonize: Select art that either matches or complements the colors in your room. For instance, if it’s neutral-toned; artwork in similar shades can create cohesion.
Contrast: Choose pieces with bold colors for a striking effect. This approach makes wall art stand out & infuses energy into the room.
Step 3: Consider Size & Scale
The size of your wall art is critical. Small pieces can get lost on large walls; excessively large pieces can dominate the space.
Measure Your Wall: Before making any purchases, measure where you'll hang the artwork.
Think About Furniture Placement: Art should align with nearby furniture. If you have a large piece above a sofa? It should be roughly two-thirds its width.
Create a Gallery Wall: If you have a substantial wall space? Consider creating a gallery with various smaller pieces—adds visual interest!
Step 4: Incorporate Different Types of Art
Mixing various types of artwork can add intrigue to your living room.
Paintings and Prints: These are timeless choices that range from abstract to representational.
Photographs: Both black & white and colorful photos bring personal touches.
Textiles: Hang tapestries to add texture to the room.
Sculptures: Wall-mounted sculptures provide depth to flat surfaces.
Step 5: Frame Appropriately
Frames play a significant role in the overall appearance! Here are key tips for selecting frames:
Match Your Decor: Choose frames that align with your living room’s decor style—sleek metal for modern settings; ornate wood for traditional environments.
Uniformity vs Variety?: Decide whether uniform frames will create cohesion or an eclectic mix will add interest?
Matting?: Using mats around artwork offers a polished look.
Step 6: Plan Your Layout
Before hammering nails (and possibly causing unnecessary holes), plan out the layout first.
Use Paper Templates?: Cut paper templates matching arts’ sizes & tape 'em up! Helps visualize arrangement without finalizing anything yet!
Start with Centerpiece?: Have a focal piece? Begin there then build around it!
Balance & Symmetry?: Ensure arrangement feels balanced—even if not perfectly symmetrical!
Step 7: Hang Your Art
Time to hang up your pieces!
Use Right Tools?: Picture hangers/nails/wall anchors suitable for weight & type!
Measure Accurately!: Use levels; keep center about 57-60 inches from floor level.
Groupings?: For gallery setups start at central piece then work outward—maintain consistent spacing!
Step 8: Add Lighting
Effective lighting enhances wall art while adding ambiance.
Spotlights?: Adjustable spotlights accentuate each piece!
Track Lighting?: Ideal for illuminating gallery walls!
Lamps/Sconces?: Nearby floor lamps offer warm glows!
Step 9: Personalize Your Space
Your living room should reflect YOU! Incorporate family photos/DIY projects/souvenirs from travels—these personal touches make space unique & inviting!
Step 10: Enjoy Your Updated Space!
Once all artwork is hung up take a moment to enjoy transformed living area! Invite friends over or simply relax in new surroundings—your chosen pieces not only serve as backdrop but also spark conversations + inspire creativity!
Incorporating wall arts into living rooms is fulfilling—it elevates spaces making them inviting By following these steps You’ll create ideal settings for relaxation + gathering turning rooms into true hearts Homes by Trufairs


